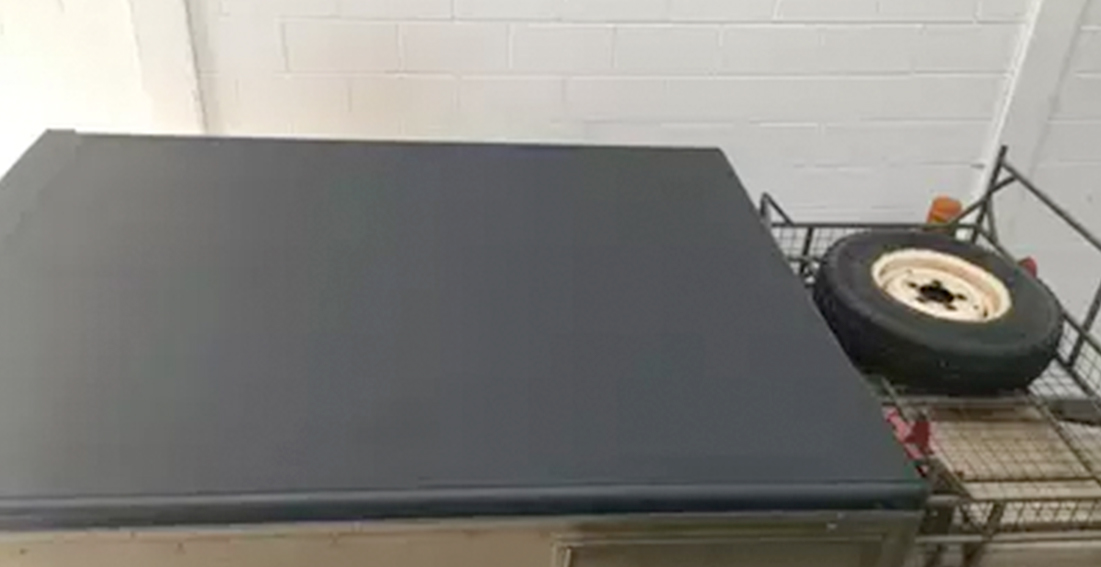
Preventing a roof leak with Raptor

One thing Paintman Paint like to do is use any product we stock, just to find out what can possibly go wrong and, also having a play, to see how good it is in real life!
Today a golden opportunity arose as our trusty Land Rover was displaying signs of a leaky roof on the rear body. I’ve tried for a year to seal it and it has almost ended up in the skip out of frustration of not being able to find the leaks.
Raptor has a brilliant reputation and, as we only stock brilliant things now was the time to prove it.
Preparation
Preparation is always key, our efforts are attached on the YouTube video link.
Overall the roof and edges were in apparently excellent condition (a bit unusual on a ex-military machine!), with the exception of the front corner where the paint had gone back to the aluminium. The whole roof was gone over with the orbital sander using 320 grit paper, just enough to give the Raptor a key to stick to. It was all masked off and wiped over with Prepclean, to remove contamination. It was then wiped over with a Tack Rag to remove dust or other loose bits. Any bare metal areas were locally sprayed with Etch Primer, whilst all joints showing signs of cracking were resealed with seam sealer.
Application
Now onto the Raptor. We used a 4 bottle Tintable kit which comes with a measuring jug. Although the instructions are quite explicit, the measure is marked with a line for the amount of hardener per bottle, making it quite fool proof. We added 200ml of binder free colour into the bottle as well which filled it almost to the top, again, using the measure. The 130 Land Rover is going to be repainted in Anthracite Grey – RAL 7016 eventually, so this is the colour we added. Following on, we then gave it the stipulated vigorous 2 minutes shake… 1 minute per arm as each arm started to fail after a minute!
The instructions state the air pressure should be 40-60 psi (2.75-4.10 bar). We complied, however what the instructions don’t tell you is that this pressure is at the gun end and not when you initially set the pressure at the gauge! TOP TIP. In our case, to get the pressure at the gun to be 50 psi the pressure at the gauge was much higher, so get a friend to set it to 50psi whilst you are operating the gun TOP TIP NO 2.
After suiting a respirator and other protection, spraying it was a pleasure, using a smooth even sweeping motion and holding the gun around .3 metre away or so. (Very therapeutic)
We used the Raptor Vari spray gun which was set to around halfway up the threads to give us a medium coating.
The roof was given 3 coats with an hour in between each coat.
Great job… it doesn’t leak any more, that’s saved me having to re-skin the entire roof!
Read more on the application process on the Raptor website.
 01777 710100


