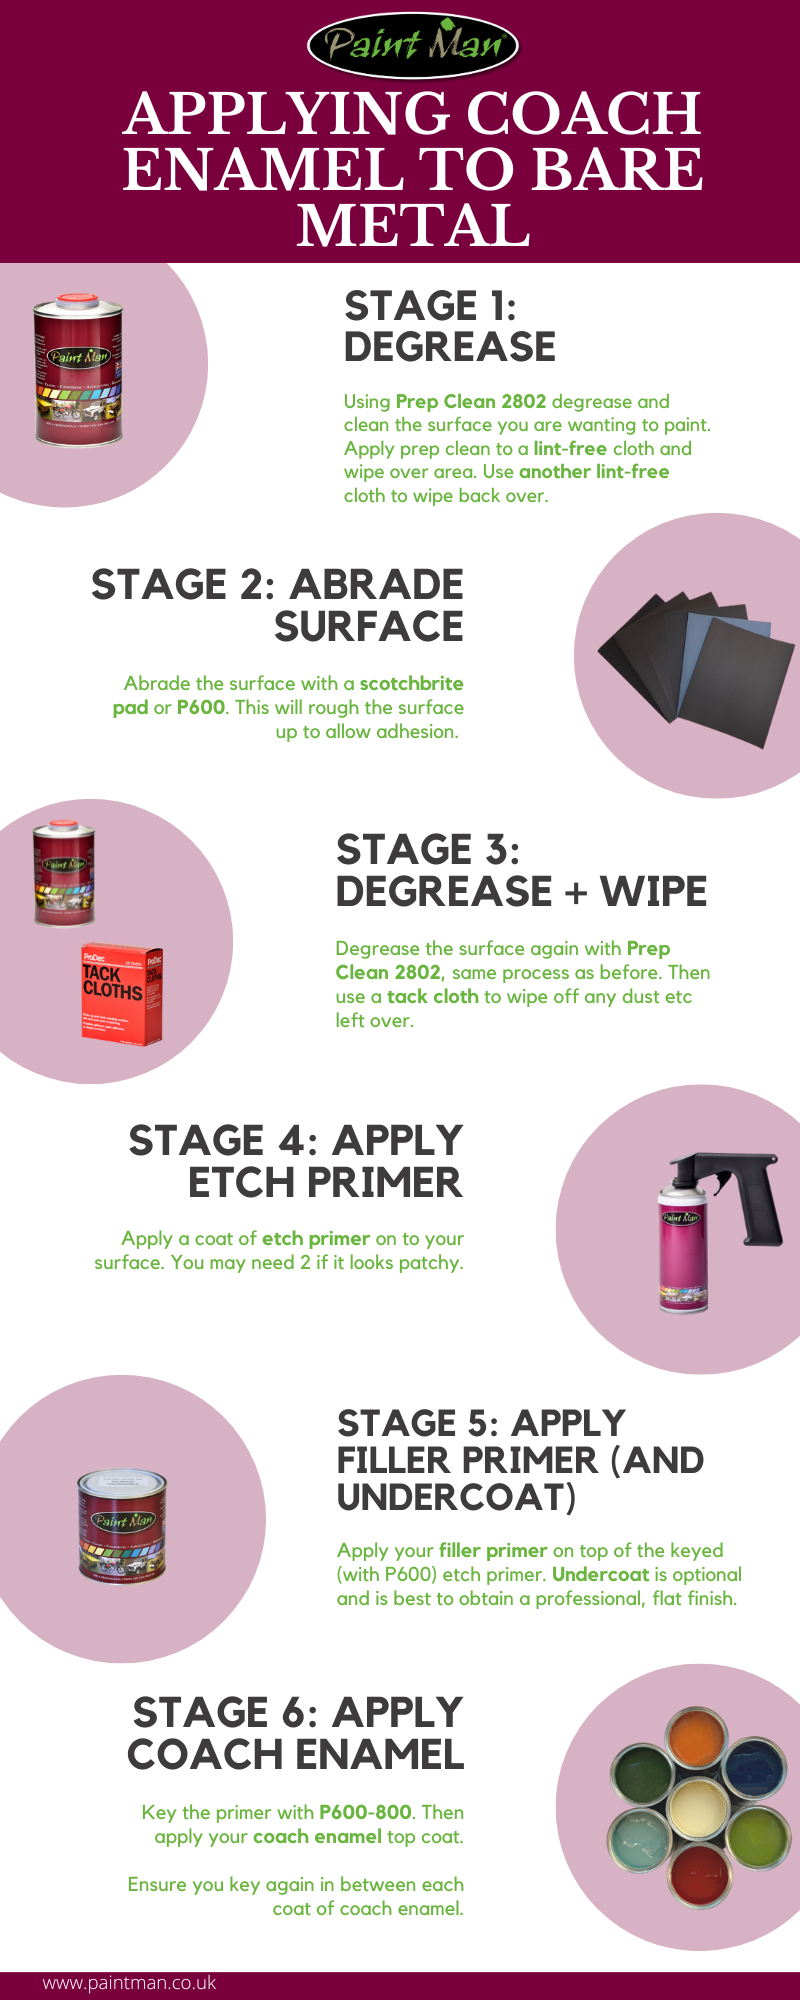
Painting Bare Metal

Applying paint to bare metal requires a careful and methodical approach to ensure a durable and high-quality finish. This guide provides step-by-step instructions for preparing and painting bare metal surfaces.
Step 1: Bare Metal Preparation
- Degrease surface to check surface quality.
- Keying the Surface:
Start by keying the surface of the bare metal. This step is essential for ensuring that the primer adheres properly. Use a Scotch Brite pad or sandpaper (P600-P800 grit) to gently abrade the surface. This creates a slightly rough texture, which helps the primer stick more effectively. - Surface Cleaning:
After keying the surface, it is crucial to clean it thoroughly to remove any contaminants such as oils, dust, and debris. For best results, use a surface cleaner – Prep Clean 2802.- How to Use Prep Clean 2802:
- Generously wet a clean, lint-free cloth with Prep Clean 2802.
- Wipe down the entire surface to clean and degrease it.
- While the surface is still wet, immediately use a second clean, lint-free cloth to remove the cleaner and any trapped contaminants.
- Always use two cloths: one for applying the cleaner and the other for wiping it off. This prevents the redistribution of contaminants. Replace the cloths regularly to maintain an efficient cleaning process.
- How to Use Prep Clean 2802:
- Final Dust Removal:
Just before applying the primer, use a tack cloth to remove any remaining dust or loose dirt from the surface. The tack cloth is slightly adhesive, making it effective at picking up fine particles. This is one of our most important parts.
Step 2: Applying the Primer
- Etch Primer Application:
Begin by applying an etch primer, this has to be done if you have bare aluminium. Etch primer has to be sprayed. This type of primer is specifically designed to adhere well to bare metal surfaces due to its “sticky” properties. It also provides a good base for subsequent layers.- Note: Use the appropriate thinner for the etch primer. Etch primers and filler primers require different thinners.
- Filler Primer Application:
After the etch primer has dried, key the surfaced again and apply a filler primer. This contains zinc phosphate which adds extra protection against rust and creates a smoother surface for painting. You will want to use a tack cloth before application.
Step 3: Painting Bare Metal Process
- Keying Between Coats:
After each coat (primer, undercoat, top coat), lightly key the surface using wet and dry sandpaper (P600-P800 grit). This step ensures better adhesion of subsequent layers. - Undercoat Application:
Once the primer coats are complete, apply an undercoat to further smooth the surface and enhance the colour of the topcoat. - Top Coat Application:
Apply your chosen topcoat colour. If using yellow or orange paint, first apply a white primer underneath to achieve the best colour results. Apply 2-3 coats. - Clear Coat Application:
Adding a clear coat to protect the paint is optional. It protects Coach Enamel and other coatings from weather and extreme use.
Additional Tips:
- Do not apply etch primer over the top of existing paint/primer. If you need to etch prime patches, feather the edge to minimise the amount of etch primer going on pre-painted areas.
- Allow each coat to dry completely before applying the next one.
- If you have a galvanised surface, we recommend using a T wash before applying a primer.
- Use appropriate safety equipment, such as gloves and a mask, to protect yourself from fumes and chemicals.
- Work in a well-ventilated area to ensure proper drying and to avoid inhaling harmful vapours.
By following these steps, you will achieve a professional and long-lasting paint finish on your bare metal surface.
For more hints and tips visit our Knowledge Base.

 01777 710100


 01777 710100
